This article is part of the HOGDigest editorial series. → Explore HOGDigest
How to make your very own modular dog house

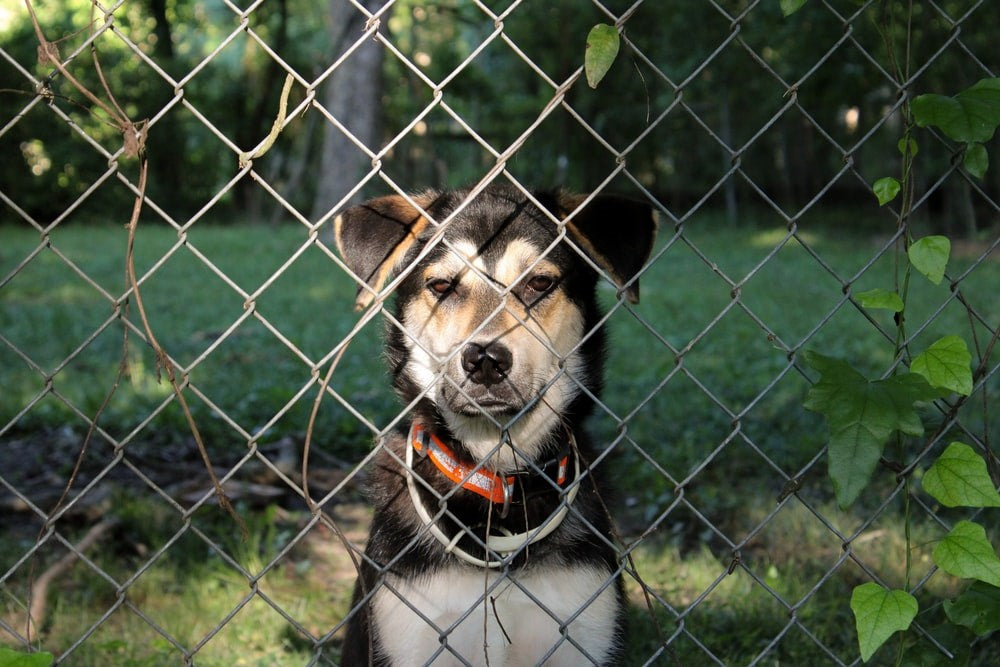
Dogs and other pets are best friends to those who keep them. They are part of the family, and so the owners do a lot for them. Take them out, buy them good food and toys, take them on vacations, etc. It is also necessary to build their own house, though they would have a larger space to roam around but have their own little space comforting. For this purpose, there are websites and pages like Petsafe where you can buy a house for your dog, but it would be preferable to build it yourself. You would have fun and more sentimental value for it this way as well as it will cost you less money.
So here is an easy method to make your very own modular dog house stylishly and inexpensively. You need to have cedar, cedar board, outdoor plywood, asphalt shingles, exterior screws, screwdriver, woodcutter, measuring tape, marker, trimmer, paint, and paintbrush. The measurements depend totally on your dog’s size, and you can use your measurements, but here we use the standard measures for your modular dog’s house.
1. Start with making a framework. The first step is to use two by fours cedar to create the floor frame. This will get the house off the ground to prevent your dog from getting cold. The structure should 36 by 48 inches and have mitered corners for a neat and clean look.
2. Now add three 33 inches two by four cedars inside the mainframe to make it rigid. Then put at it the 36 by 48-inch piece of exterior plywood. The plywood will help square the frame. The use will have to make sure all your wood is suited for outdoor use to stand up against the outdoor elements. Also, make sure that it is not treated with any chemicals which are harmful to your dog.
3. Cut the bottom two by four plates to 36 inches and cut the two ends studs to 42.5 and 45.5 inches. Then cut the center stud and top plate to 33 inches.
4. Screw everything together securely and then repeat this process for the other wall to make the two side walls 36 by 36 inches.
5. The back wall size of 29 by 36 inches with 33-inch studs.
6. Then the front wall has the dimensions but has different framing for the door. The bottom plates are 9.5 inches, and there are two center studs, which are 18 inches long with a header length of 26 inches.
7. Attach the two side walls to the floor, fit the front and back wall in between, and screw the walls together.

8. Then turn it on its side to sheet the back and the two side walls with plywood. The door needs to cut out with a door shape to fit your opening.
9. Then attach the cedar trim to all the corners and angles. Then trim the top and bottom is 3 by 4 inches thick while the corners and door trim is ripped to 3 by 8 inches thick, so it fits the top and bottom.
10. Next, coat the house with outdoor paint and wood sealer. Use your favorite color or the color your dog attracts.
11. After everything dries, it is time to create the roof. It has the same mitered framing as the floor, but this time you will sheet it with three quarter inch construction plywood. This gives the roofing something a little bit thicker to attach to.
12. Then put trim around the roof and drip edge over the trim with asphalt shingles on the top. Now place the roof on the top of the frame. It will slope to the back since the back studs are three inches shorter.
13. Secure the roof with four screws in the four corner studs.
14. Lastly, get creative with the finishing touches. You can put on some house numbers outside with the opening. You put some toys or cushion, or food items in the house to make it look funkier. and scrambled it to make a type specimen book.
So, in just a few hours, you can give your dog a place to call their own where they can play, eat, rest, and sleep.

Umer Ishfaq
He is passionate about Digital Marketing. Along with educational backgrounds in Software Engineering, he is bridging gaps between the marketing and development departments. At Techvando, he has been consulting brands all over Pakistan to gain online traffic and profitable leads.


